Monday, 30 January 2012

Tattoo and apologies.

HI guys sorry its me apologising again. You may or may not have noticed that I have been missing from your blogging lives for some time now. I have to admit this time I have been busy. Between spending festive time with 3 sets of family, my gorgeous friends, hubby working the whole of December and my self cramming in as much January over time as possible, I've hardly had time to even check my Facebook let alone muster enough sense out of my addled brain to compose a post. However this is all set to change. I have so much to show you that Santa has gifted me with (because I have been an exceptionally good girl), that hubby has been franticly taking pictures of everything so I can begin to try them out for you.

The first thing I would like to show you is a kind of Christmas present to my self and I honestly think it is the single best thing I have ever bought in my life, including my wedding shoes, and I LOVE shoes and weddings! In fact there are quite a few thing on my love list and tattoos are definatly one of them. Ever since I can remember I have been fascinated by them. My dad was in the army and he has quite a few tattoos covering his arms and other more intimate parts of his body that I shall not name, so I have grown up with them being the norm. Also when I met my husband he already had a growing collection of body art that has steadily expanded each year.

So nearly 11 years ago, just after my 17th birthday I decided that it was time to have my first tattoo. I obviously discussed this with the mother figure first and she stated that she didn't have any issues with this, she actually thought that there was no way that I would go through with it (even back then I was notorious for my lack of pain thresh hold). So off I trundled to Blackpool with my best friend and sister in tow and endured 40mins of tattoo pain. I exited feeling light-headed, £40 lighter in my pocket and generally very pleased with my self. Now just for the record you have to be 18 years old to get a tattoo in the UK and I am in no way condoning getting a tattoo before the legal age, actually I have now had my first tattoo covered up. Unfortunately I am going to dole out some clichĂ© advise as well. Think long and hard about the type of tattoo, where you want it, who you want to get it done by etc. This is no time for an impulse buy. Its not like those Topshop hot pants you thought you could get away with wearing because Lady GaGa did! You can not take this back.

So..... I hear you ask, why did it take 11 years to partake in another tattoo experience? Well I was taking my own advice. I researched. I researched different styles, tattooists, artwork ect to decide what I really wanted. And during that decade tattooing changed incredibly.

The best change for me is the rise of the Custom Shop. This is where you take your ideas, research, scrap pieces of paper or just your mind and your tattooist will draw you something up, and as if by magic you dreams will become reality. Which is exactly what happened to me. My fantastic tattooist is Dan Morris of Red Sea Tattoo which is situated on Oxford Road in Manchester. Red sea Tattoo was recommended to me by a work colleague who's own amazing tattoos were done there. So I had a look on line at their work and went in to the shop for a consultation. I have to admit, before I go any further that my whole experience with Dan and Red Sea has been amazing! They made me feel comfortable, relaxed and confident that the result would be what I wanted....and no im not getting any discount for expressing this praise lol. My consultation with Dan took about 20 mins and in this time I showed him my research (I had quite a bit) and he wowed me with his knowledge of pin ups and old school. He then mapped out my back with a Sharpie line drawing of some ideas which he took pictures of, we discussed colour, positioning, costing and aproximate time, and then I ws sent on my merry way with my first appointment date.

On the date I made sure I took Dan's advice and had a good nights sleep and had something to eat about an hour before my appointmet. I then spent the rest of the waiting time trying in vein to stop my heart from birsting out of my chest with nerves. My first appointment was 3 hours long and my tattooed colleague had given me some advice before hand to get through it, and I quote

“Think of the worst pain in the world and you will breeze through it”

Did this advice work? Well, see for your self.


This is the tattoo straight after the first sitting. As you can see I have had all the outline done and Dan has coloured the flowers which is where my first tattoo has been covered over. Once my tattoo was wrapped up and I was on my way home I felt invincible and may have professed that I was now “the tattoo master” to my mum. This however was the complete opposite of 2 hours early when I expressed that I wanted to die ;0) Well I have always had a flair for the dramatic.

4 weeks later I was in again to get the job done. This time I had 2 and a half hours in the chair and I was much more relaxed this time. During each of my sittings Dan was chatty, funny and just plain lovely! And here it is, the finished product.. 


To me it is honestly the most amazing, beautiful thing in the world. I still cant get over the fact that my crazy, disjointed ideas have been transformed in to a work of art that will be mine for ever. I cant give enough praise and thanks to Dan who is undoubtedly the most incredible artist.

Now this would not be a beauty blog if we didn't talk about some products so here is what I have now dubbed “the tattoo beauty regime”. What I'm not going to do is give you advice on how to look after your tattoo, I am just going to say what I did. This is because there are so many different opinions on this subject on the internet from people much more qualified to give advice than me. So from the time I came out of the tattooist until my tattoo stopped peeling I used Bepanthen (baby bum cream) about 3-4 times a day to stop it from drying out. Once it had stopped peeling I then used Vaseline Essential Moisture twice a day for about a week. As for keeping my tattoo clean, for the first few days I washed it twice a day just with water, and from then on I washed it twice a day with Johnsons Head to Toe baby wash. Wow didn't realise it before but it sounds like I have a lot of baby products.........mother do not get any ideas! The only thing I would like to advise about looking after a new tattoo is don't scrub, pick or scratch and of course get some after care advice from your tattooist.

So I have left Dan's details below for anyone thinking about taking the plunge and all that's left to say is 'happy beautifying your body with art'.

Stacey x x

Red Sea Tattoo website http://redseatattoo.co.uk/


Sunday, 11 December 2011

Christmas Look. Red/Green/Gold.

Hi guys sorry I have been MIA for what seems like for ever. Its been ever so slightly busy in this neck of the woods but that is no excuse for shirking my blogging responsibilities!! Neither is feeling like death, which I woke up at 5 O clock this morning feeling like. So having dragged my sorry state out of bed at 6am, after whimpering and sniffing in hubby's ear for an hour (hubby was still asleep!), I then proceeded to; festivise my living room (it is now complete with tree, tinsel and many a sparkly bauble), chat to the mother-figure for half an hour (always sure to get sympathy in abundance there), watched 3 Shrek films and Christmas Madagascar. And now here I am. Drinking hot Vimto (which may or may not be hubby's) and eating a Smarties xmas penguin (bought by the mother-in-law, because secretly she thinks I'm the best daughter-in-law in the world!). Soldering on, like a trooper, for the team, and if any persons would like to shower me with sympathy I'll take that for the team too ;0).

So it's been a long time in coming but I have for you today the first of the Christmas looks that go with “Inspiration for Christmas Photo Shoot”. This is the Red/Green/Gold look. The first picture is the main picture taken from the shoot. In each of the shoots we wanted to depict a different way to celebrate Christmas. This picture was about celebrating the fun of Christmas, letting your childish side out and relishing in the magic of Christmas. All 3 shoots follow the same layout, one full length picture, one close up and one of feet (in shoes of course, for those of you that have an aversion to naked feet).


This photo shoot was really nice and relaxing. The photos were taken in my house and yes I did put my tree up especially for this, as well as sewing coloured bells and stars on the the dress to make it look more festive.

Now I tried a couple of looks out for this shoot in advance as I was trying to work in both the Red, Green and Gold in to one eye look and still make it wearable. I tried graduated eyes, I tried glitter liner in all the colours, I tried it with mat colours, shimmery, sparkly but all to no avail. Everything I tried either looked too crazy (I like crazy but it's not too wearable) or just plain BAD. So I decided to do what any professional would do and assess the situation on the day ;0).

Luckily for me my model, the beautiful Jenny was, if I could be so bold as to say, STUNNING! She had the most gorgeous young skin and a truly angelic look. So multi-coloured craziness went straight out the window and wholesome young fun was the theme of the day.

For the skin I evened out skin tone with a little Graftobian HD foundation and some ELF HD powder. For the cheeks I slightly contoured with NYX light brown (no name) powder, highlighting with MAC Phloof (my go to highlighter) and a wash of colour on the cheeks using NYX blusher in Peach. For lips I conditioned with Carmex Classic lip balm and gave the lips a just bitten look with Sleek Tinted Lip Colour in Electro Peach.


Even though I wasn't going crazy with colour this look was still all about the eyes. I used Too Faced shadow insurance as a base and then used a NYX gold glitter gel from the eyelashes to two thirds of the way up the eyelid. This gave a wash of gold glitter that you could see when she blinked. As well as this I also used a green glitter liquid eye liner. from Claire's Accessories across the lash line to give a fun, funky edge to the look. Topped of with some Maybelline Great Lash blackest black mascara and some mussed up curled hair and voilĂ . Fun, funky, not too crazy make up, using glitter (my favouritest thing in the whole wide world) that can be worn pretty much anywhere.

If you are a glitter lover like me or you would just like to try some thing new, glitter eye liners are a really good investment. You can get them in pencils, gels, liquids. You can get them from the big cosmetics houses like MAC, Stila, and Too Faced, all the way down to Claire's Accessories and MUA for Superdrug. The beauty of this look is you can go all out with a big retro kitten flicks or tone it down with dots of sparkle right on the lash line, which means it can be adapted to suit anyone. And lets be honest, who doesn't like a little sparkle at Christmas.

Hope you have enjoyed guys and I'll see you soon.

Stacey x x


Saturday, 26 November 2011

China Glaze – Little Drummer Boy.

Hi guys it feels like I have been on a nail painting frenzy these past few weeks. We have had Glastonbury, this and I have a new polish from China Glaze to show you as well. This may not sound a lot for those nail enthusiasts out there, but for me to paint my nails two week on the trot is generally unheard of.

So I have to admit this creation was a little off the cuff, it came about as I was taking the Glastonbury nail polish off and it was taking too long, so in my haste I may have left some on and just painted over it. Now I do not condone this action in any way and I blame a momentary lapse in “therapist” brain function but as this turned out quite nice I thought I would show it you ;0)


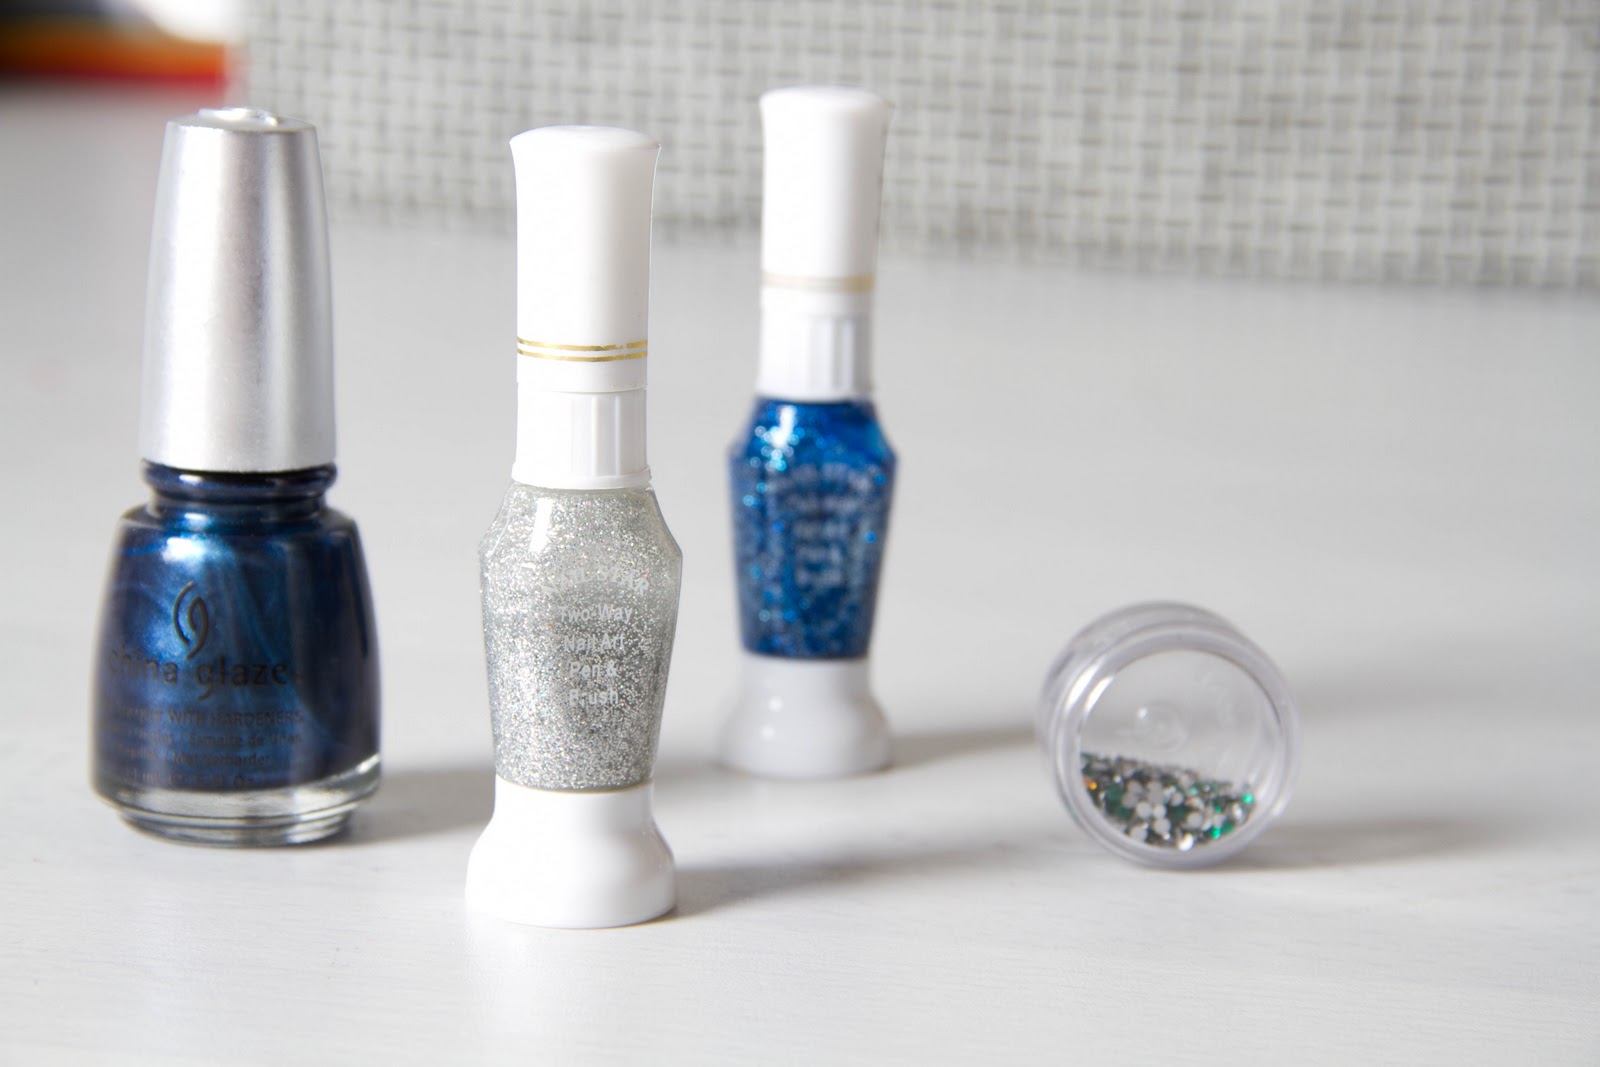
I started with A and E base coat by Nails Inc as my nails were a little battered from wrestling the glitter most of the way off. I then used two coats of China Glaze Little Drummer Boy which I bought last year in their Christmas collection. And for the top coat I used China Glaze Fast Forward, which is my go to quick dry top coat. 
 
Now I was just going to leave my nails like this but the more I looked at them the more I realised that the nail polish, although a gorgeous shade of blue, was a little too dark on its own for my Casper white hands. So instead of taking them off, and trying yet again to get the remnants of the glitter polish off I decided to jazz them up a little. As you can see I painted lines from one corner of the nail to the opposite corner using sliver and blue holographic nail art pens, and on each starting corner I added a clear nail art rhinestone. All in all I thought the outcome was very festive.


Just in case any one wants to buy anything that I have used, I get my Nails Inc from either; Debenhams, Selfridges, ASOS and sometimes if I'm lucky (or when my mum has searched) TKMaxx. I get all my China Glaze from the only place that I know of that sells it in my area which is Sally's/Salon Services. For those of you that don't know who Sally's are, they are a hair and beauty professional wholesalers but they do have some shops that sell to the public as well so check out there website here to see if there is a store near you. And for my nail art pens and rhinestones Ebay is the way forward, they have everything you can imagine for nail art design.

So I hope you have enjoyed this post and and get adding a little festivities to you nails.

Stacey x x


Tuesday, 22 November 2011

Merry Lush Christmas.

You know its getting to that time of year when Starbucks bring out their Red Cups and Lush are using their Christmas bags.


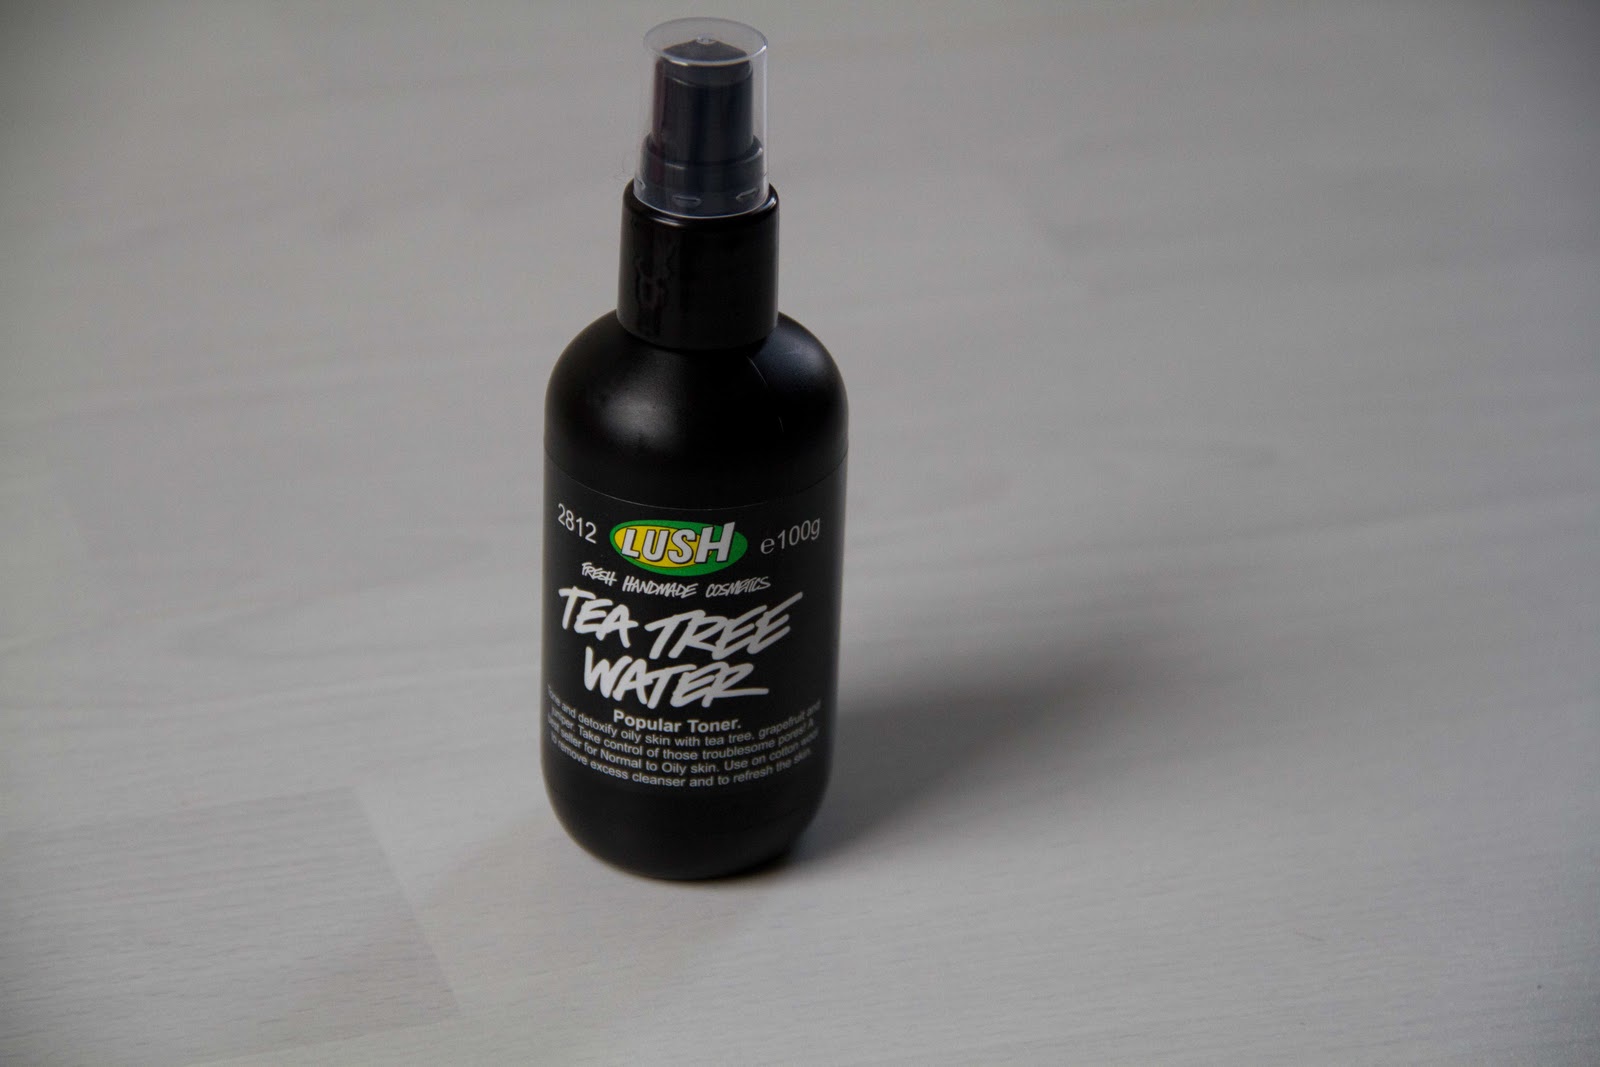
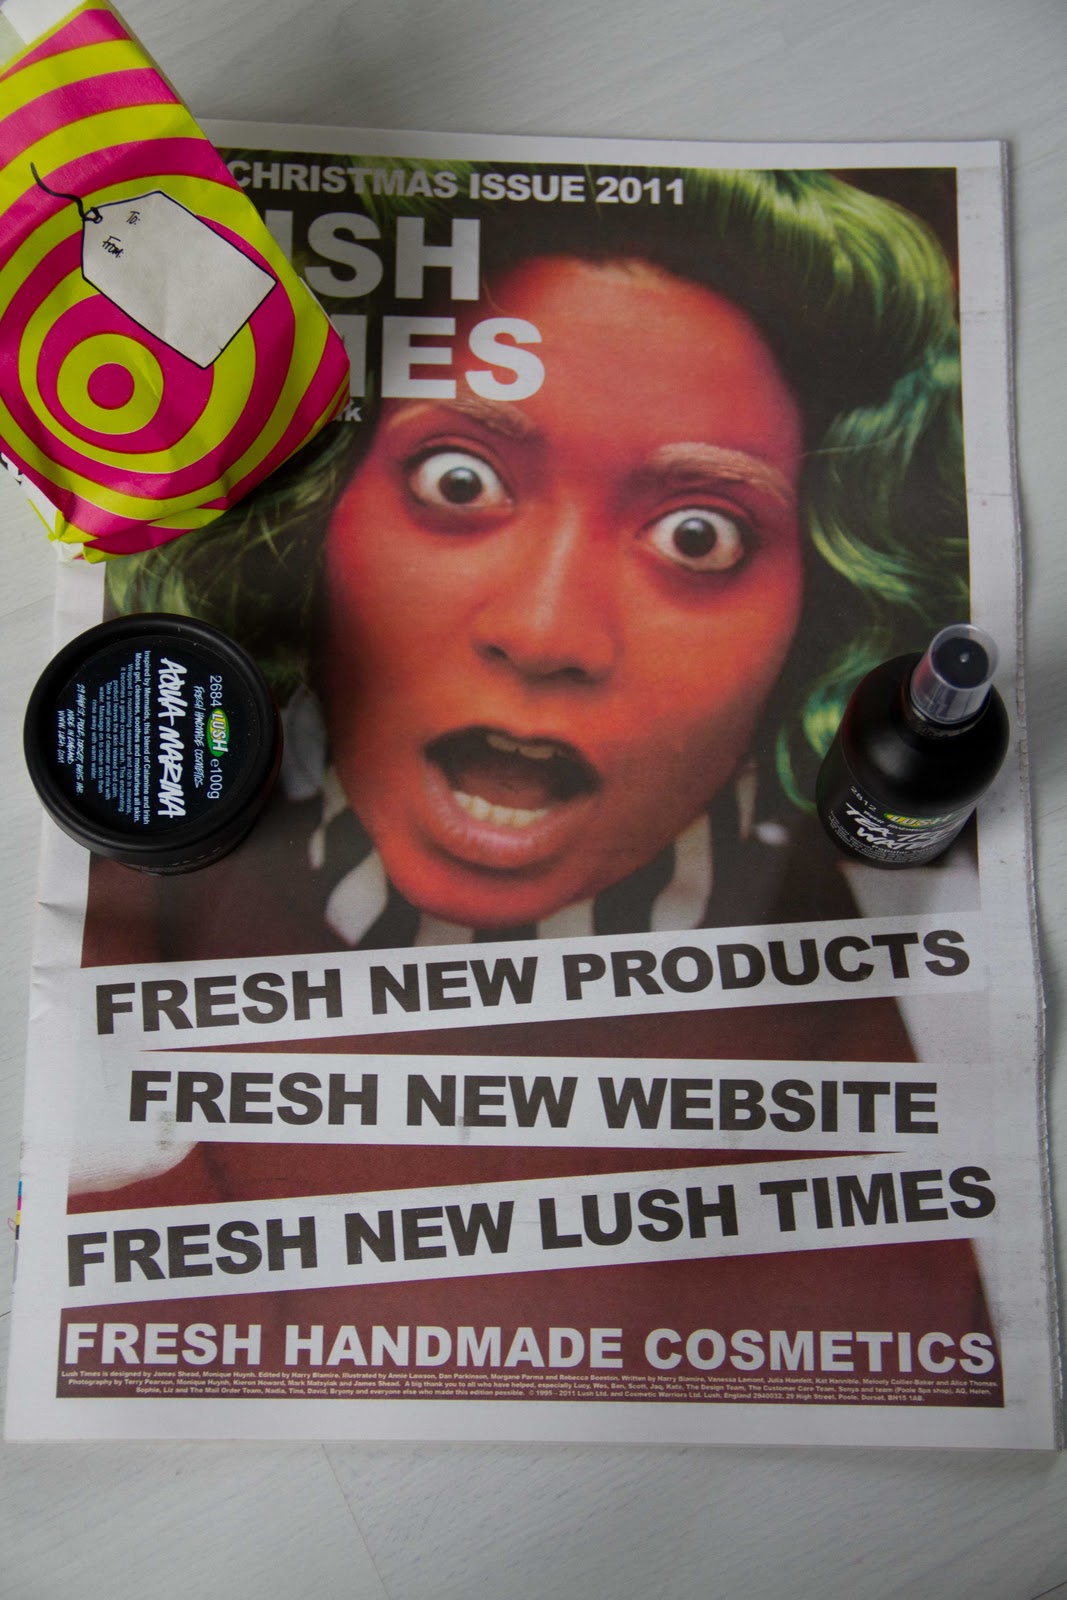
Now I am a true believer of when a product is working for your skin, stick with it and this was my main reason for my visit this time to Lush. I have been using Aqua Marina and Tea Tree toner water as my cleanser and toner for at least a year now and they really work to keep my skin clear and lovely.

What I really like about Lush is the descriptions of the products. They are masters at providing detailed factual advice and ingredients and making it fun! I really enjoy reading the descriptions and I thought you guys might like to as well. So here they are, the three products that I bought in Lush’s own words.

Aqua Marina:


“Our pink squishy cleanser that was inspired by mermaids. An ocean of ingredients to soothe and calm the skin.
We make a mixture of carrageen extract, vegetable glycerine, Irish moss gel and aloe vera gel. We mix in fine sea salt, sweet wild orange oil and patchouli oil. Then we bind these together with calamine powder and kaolin. Finally we roll the mix inside a large sheet of nori seaweed - to create a huge facial sushi.
Together they make a mineral rich cleanser that is packed full of emollient ingredients to soften the skin and clay powders to deep clean and absorb grease. The texture is amazing, the smell is rich and comforting – but most of all this leaves your skin calm, smooth and renewed. 
Takes the stingray out of skin that has been caught by the wind and sun.
When we first wrapped this product in seaweed, we stood back to admire it and only then realised that it looked like a mermaid's tail. We still giggle every time we think about it. So we named it after Marina from the 60s cult show Stingray”.

Tea Tree Toner Water:


“Tea tree is a wonder oil for anyone with oily or spot prone skin. It has antibacterial, antiseptic and antimicrobal properties.
Where the skin needs balancing, where there are spots, gentle tea tree is just the job.
Also contains grapefruit water and juniperberry water to refresh and tone the skin.
Our toner water range is an attempt to deliver good quality essential oils to your face in the correct concentration. They are not just toners, but are aromatherapy in dilution, ready to be used at a moment's notice.
They can be used for removing traces of cleansers and face products – but can also be used at any time of the day as a quick facial refresher or to cool the skin”.

Lil Lush Pud Bath Bomb:


“We all want some figgy pudding. But instead we have a Lush Pud, because it’s kinder on the hips and doesn’t leave you pinned to your chair with indigestion for hours.
Looking like a miniature traditional Christmas pudding, smelling of marzipan and full of lovely goodies like lemon peel powder, clove powder, aloe vera extract and rose absolute, this ballistic will leave you feeling peace and goodwill towards all men. And whilst you were blissed out in the smell, that aloe vera extract will have been soothing and bringing clam to your winter skin.
This ballistic is a Christmas institution with our staff and customers alike. We have been making it now for more than 10 years, with people coming back each December just to buy it.
It’s a little bit of tradition that we hope never goes out of fashion.
Shares the same fragrance as our Xmas number one – Snowcake soap”.

As you can imagine no trip to Lush would be complete with out the purchase of a little goodie. This came in the form of Lil Lush Pud. Self explanatory now you have seen it. It is in fact a bath bomb in the theme of a Christmas pudding, so cute! And smells devine. I did however have a small issue with this product. It turns the bath water in to a murky brown colour which kind of looked like a baby sans nappy had been in there before me……if you know what I mean. This is just my girly side coming out however because I did manage to soak in the bath for approximately 30mins so the colour didn't actually affect the relaxation at all.


Aqua Marina: £5.95
Tea Tree:£3.75 100g or £7.00 250g
Lil Lush Pud Bath Bomb: £1.95


I may have also had a quick peek at the Christmas gifts on my visit, purely for research purposes of course and I can tell you Lush does not disappoint. If you are looking for a bath type Christmas gift for any price range, check them out here. The presentation of the pre-packed gifts are amazing and just think saves you time wrapping.

I hope you have enjoyed this post. Keep a look out for some more gift ideas coming your way soon.

Stacey x x  


Saturday, 19 November 2011

Nails Inc Glastonbury polish.

Hi guys this is just a quick review to show you Nails Inc Glastonbury polish. Now its no secret that I LOVE glitter. I'm like a Magpie, I can spot glittery, shimmery things from a mile away and then I need to have them. That's why for the most important day of my life (my wedding) I chose this nail polish. 


This polish is incredible, truly the best polish that I own. It is a mixture of gold, green and purple glitter, and goes on pretty opaque from the first coat. It glitters beautifully in the light and I get a tonne of complements every time I wear this. 


Glastonbury retails at £11 and is part of the Special Effects range at Nails Inc. When I bought this polish there was 2 glitters in this range, this and Reading which is a gold and red glitter. Nails Inc have since brought out some 3D glitters that look amazing, Bloomsbury Square (purple/cerise), Sloane Square (grey/silver), Connaught Square (blue/purple). With these, their Gossip Girl collections (The Blair Collection is my personal fave) and the Electric Lane Holographic Top Coat, my Christmas list is getting longer by the second. 

Stacey x x  

Sunday, 6 November 2011

Inspiration for Christmas Photo Shoot.

Within the next few weeks I am going to be doing a Christmas themed photo shoot and I wanted to give you guys an insight into how my ideas for this shoot have been organised and expanded on to create the finished looks.

I am really excited about Christmas and it’s always been a very special time of year for me. I am very much about Christmas being a time for family (related or non related), celebration and excitement. So when Hubby suggested a Christmas photo shoot I was like “I’m quite busy at the moment, I’m not sure I can make the time” lol. Really I jumped at the chance. 
 
Now working with the Hubster as a photographer and close friends as models means that I can get involved in pretty much all aspects of the shoot, so I have kind of taken this to the latter and it has morphed in to my baby!!

So here is my first bit of inspiration. I wanted to start by thinking about what is synonymous with Christmas, when people think about Christmas what are the things that spring to mind?


As you can see these have been written down the left hand side of the page and they are things like: Nativity, presents, glitter, wrapping up warm etc. Moving on from this I also wanted to think about the colours, textures and make-up that are apparent at this festive time of year. These have been written down the right hand side of the page and include: red glitter lips, silver, rosy cheeks etc. 

So armed with my plethora of ideas it was time to think about bringing them together to make a look. Well three looks in fact.

So here is the first one and it’s a Red Glitter Lip. I want to create a modern take on a classic 50s look. A red lip to me is classic and timeless and very festive. I’m thinking that for this look I want it to be all about the lip so I’m looking to keep the rest of the make up quite natural but still glam. I’m thinking the mandatory black liner to give it that 50s feel and some winged lashes. Although I have called this look Red Glitter Lip I am torn between a glitter look and a high gloss look. I like the idea of both so this will be decided on the day.


The idea for the second look is Red/Green/Gold, which I believe to be the ultimate Christmas colours. I want this look to be fun and colourful so I’m thinking graduated red, green and gold eyes, either glitter or foil and natural, healthy, glowing skin. 


The third look is inspired by the cold of winter, icicles, snow and frost. I love silver eyes any time of the year but even more at Christmas, I think they look funky and cool. I’m thinking highlighter, nude lips and maybe some crystal encrusted eyelashes, which I would be making and not buying. 


As you can see underneath all the looks I have noted a few ideas at the bottom of the page. These are my ideas about the look of the photo shoot and these will be pitched to Hubble along with the make-up ideas to see what he thinks.

I feel that it is really important for me to get all my ideas formulated and written down for photo shoots, especially when there is a theme involved. Although all these ideas are subject to change depending on model and vetoing photographer ;0) I feel more inspired when my ideas are on paper.

So guys I hope you have enjoyed this delve in to my crazy mind and watch out for the photo shoots in all their glory, coming very soon.

Stacey x x

Friday, 4 November 2011

Rainbow cake and other necessities.

Hay guys today I want to show you some really cool things that I ordered from Face Paint UK. First of all I have to say that this company has THE fastest shipping time of any company I have ordered with. I literally ordered at about 12pm one day and it arrived the very next day via Royal Mail. I was amazed! Not only the fact that it actually arrived at my house lol (im having issues with Royal Mail at the moment) but my products must have been picked, packaged and posted minutes after I ordered it! Yes its the little things that make me very happy ;0)

So after an unexpected postal surprise the next day, THE NEXT DAY, here is what I ordered.


Diamond FX Black and White
Fardel Gold fluid make-up
Diamond FX split cake no7
Kryolan glitter gel
Grimas X3 square sponges
Grimas coarse stipple sponge
Bibi X6 double load sponges
FPUK round sponge stick large
FPUK large sponge dauber

The main reason I placed this order was because I really wanted to up grade my black and white paints to achieve more precise and clean line work. I had been researching the best paints on the market for line work and even though lots of people have their different favourites, Diamond FX came up time and time again.

As well as this I had been toying with the idea of a split / rainbow cake for a long time and I thought this would be the perfect opportunity to take the plunge. I decided to go for the neon rainbow simply because it looked the brightest and I think it will show up the best on pictures as well as real life. Also the kids will LOVE it!

Well you know how it is, once you start its hard to stop and before I knew it I had a multitude of other items in my virtual shopping bag, all with very good reasons for why I needed them, cant remember those reasons now but they were definately there at the time.

Looking back the only mistake I may have made was buying the double load sponges. I thought they may have fit the rainbow cake making it easier to apply but unfortunately they are a little too short, I should have really got a Diamond FX sponge but hay ho! I'm sure they will still get used.

So as you can see below I did a quick swatch of the paints to show you. 
 
(sorry the colour has been blasted out of it a little and it also looks like we have raging parties in our house, which is so far removed from what actually happens in our house, we were set up for a photo shoot at the time) 
 
I'm really happy with all of the above. It may not look it in the picture but the split cake is just as vivid as I wanted it to be. The black and white are super easy to use and give a good solid shade. And the gold is so shimmery in real life, it will be beautiful for accents. I haven't yet tried the sponges but once I have I will report back.

Now I better get practising with this rainbow cake as I can envisage my Sunday party being filled with lots of neon butterflies and tigers once the kids have spotted it ;0)

Stacey x x